Checking journal entry proposal
Written By Tess Hoogeboom
Last updated 4 months ago
Clicking in the column status on Check in the screen Backlog will show you the journal entry proposal presented by TriFact365. This proposal needs to be checked and can be corrected.
1. Matching creditor/debtor
The first step is machting the supplier or customer is matched. There are 3 possible senario’s:
Creditor/Debtor is successfully matched
You can now proceed to check the other booking details

Creditor/Debtor is not matched
The field is now highlighted in red. By typing a number or name into the field, you can select an existing supplier or customer. If the contact does not yet exist in your accounting software, you can use the pencil icon to enter the details and create a new contact.

TriFact365 presents a proposal for a new relation
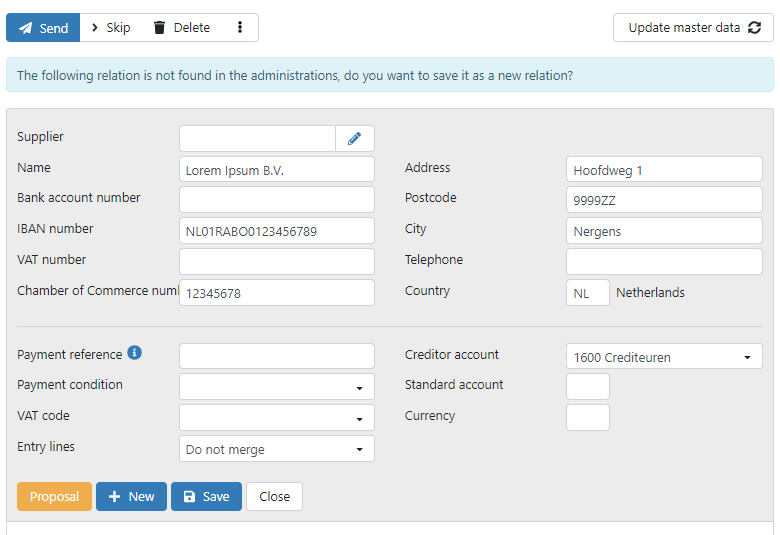
If a contact is not know within your administration, TriFact365 can automatically suggest creating this new realtion in your administration. You will then see the following message:
2. Checking invoice data
After matching the creditor/debtor, the invoice data should be checked and maybe corrected (e.g., invoice number and invoice date). Below are a few links to useful features for checking invoice details:
Highlight recognized data in the PDF viewer
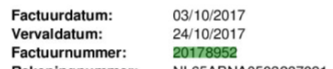
Using the PDF viewer, you can easily review and, if necessary, edit the recognized data. By clicking a specific field with your mouse (for example, Invoice Number), the PDF will highlight where the recognized value is located.
Copy text from the PDF viewer
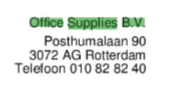
Would you like to copy a word and use it in one of the fields in the booking proposal? Simply click on the relevant word in the PDF. The word will then be highlighted in green. Next, click in the field where you want to paste the text.
It is also possible to copy multiple words. To do this, drag a selection box around the desired piece of text until the text is highlighted in grey.
3. Checking journal entry
Below the invoice details, you will find the journal entry lines. You can add lines by clicking the plus (+) icon at the end of the first line. You can remove a booking line by clicking the bin icon.
Above the journal entry lines, you may see up to three buttons that can be activated:
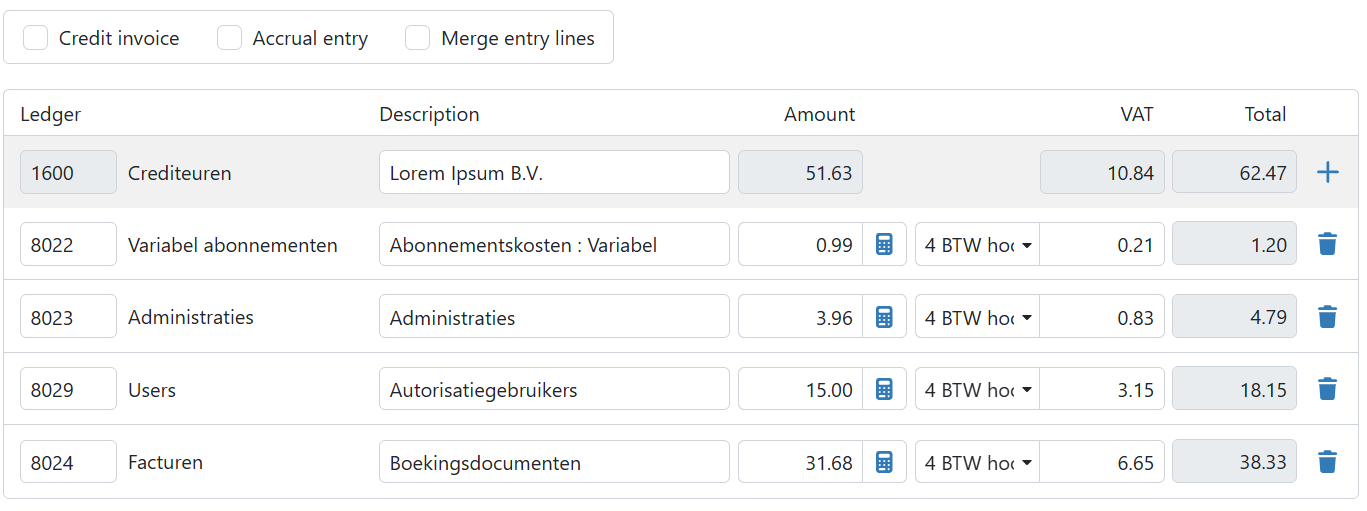
Credit invoice
Use this button to indicate whether the invoice should be processed as a credit invoice. Depending on the accounting package you are using, this button may be available. For more information, see the link below:
Accrual entry
This button allows you to create an accrual entry. Additional fields (From and Up to) will then become available on the booking lines. Depending on the accounting package you use, this button may be available. See the link below for more information.
Merge entry lines
If multiple booking lines have been proposed, you can use this button to merge them. Booking lines with the same VAT rate will be combined into a single line.
Ledger and other dimensions
At the beginning of the booking lines, you will see the ledger account to which the entry will be posted. By default, this is determined based on the relation’s master data. You can change it at any time by entering a different number or description in the field.
Would you like to post to other dimensions as well, such as a cost centre or cost unit? You can easily enable these via Display options. See the link below for more information.
Descriptions
By default, the Description field shows the name of the relation. If required, you can configure a different description in the administration settings based on so-called labels. See the link below for more information.
Amount and VAT
Next is the amount excluding VAT. Based on the selected VAT code, the VAT amount and the final total amount are determined. If necessary, you can adjust these amounts.
Below are a number of links to useful functions for checking the amounts:
How does TriFact365 determine the VAT code?
A default VAT code can be set for each relation. If a proposal contains only one line, the default VAT code is always used.
If a proposal contains multiple lines, the suggested VAT code is based on the recognition.
If you use the Merge booking lines function and several lines are combined into one, the VAT code will also be based on the recognition.
Would you like the default VAT code to always be used? If so, you can disable automatic line recognition. You will then no longer receive proposals split into multiple booking lines, but the default codes will still be applied.
4. Adding a comment
You can add a comment in the white field below the entry lines. After the document has been sent, the note will be added to the History on the right-hand side.

It is also possible to send the history to the administration as an additional PDF. This is supported for a number of accounting packages. See the link below for more information.
5. Send the booking
When you send a booking, TriFact365 first validates whether it meets the required criteria. If it does, you will immediately continue to the next document. The booking is then sent to the accounting package in the background.
Booking failed?
If the booking fails, a notification will appear on your screen, as shown in the example below.
This notification appears just below the menu bar.
The notification includes the reason why the booking failed.
The failed booking will reappear as one of the next documents in the processing order, so you can correct it and send it again.

6. Additional functions
In addition, the check screen includes various other functions that can be useful when checking and processing invoices.
Keyboard shortcuts
Several keyboard shortcuts are available in the booking screen. These allow you to process invoices in your administration even faster.
Update master data
If you make changes to master data in the accounting package, it is important to update the master data in TriFact365 as well. This means that TriFact365 retrieves the new or updated data from the accounting package.
Display options
Using Display options, you can not only enable or disable dimensions, but also change the layout of the screen. For example, you can move the document to the left-hand side, or widen the booking lines and place them below the document.+
Frequently Asked Questions
General ledger accounts and/or relations (suppliers or customers) are not shown. What should I do?
General ledger accounts and/or relations (suppliers or customers) are not shown. What should I do?
When checking a booking proposal, it is possible that the master data is unavailable. For example, existing suppliers or general ledger accounts may no longer be suggested or selected.
Was this helpful?
Still need help? Ask the team