Upload via the mobile app
With the mobile app, you can take photos of receipts and upload them to TriFact365.
Written By Tess Hoogeboom
Last updated 4 months ago
Haven’t downloaded the mobile app yet? Download it from the App Store or Google Play Store and log in with your email address and password.
Upload photos and scans
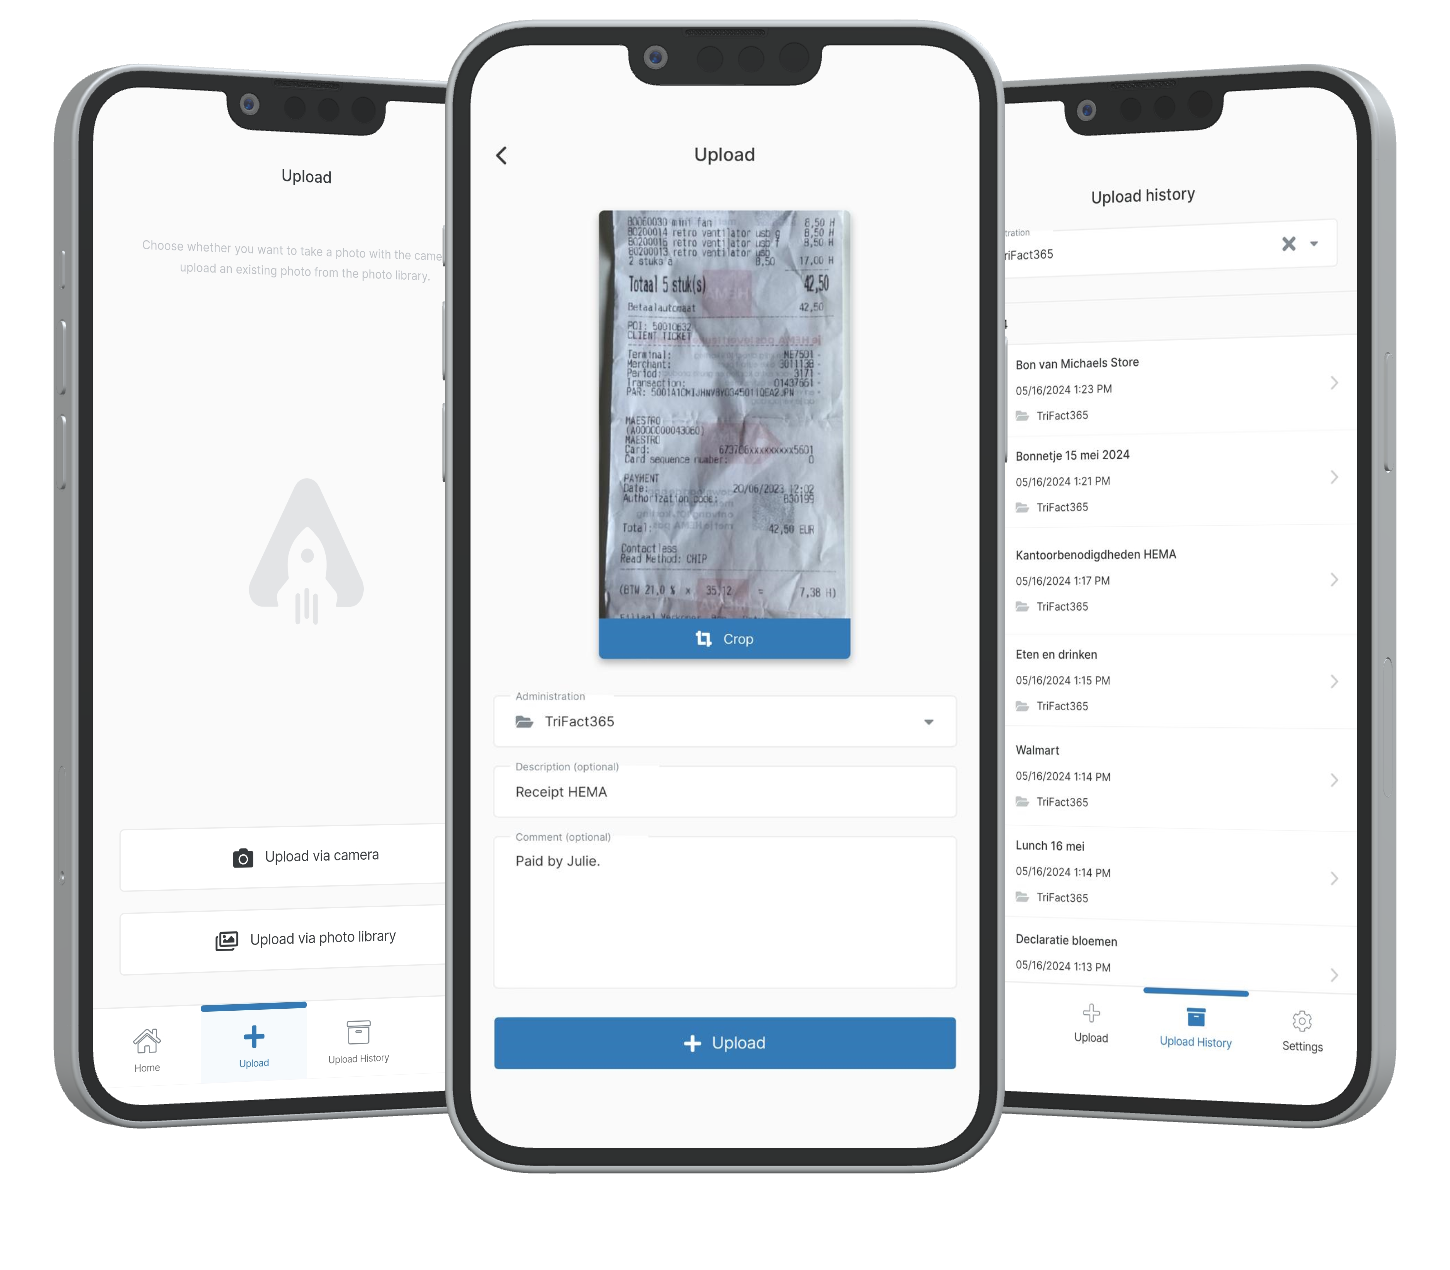
Click Upload in the menu.
Choose one of the following options:
Scan document: Place the receipt or document in your camera’s view. A scan of the document will be made automatically.
Take photo: Take a new photo with the camera.
Select photo: Select an existing photo from your gallery.
Crop the photo if necessary. Click on Crop, move the corners/sides until the photo is properly cropped, and then click on Confirm.
Select an Administration.
Add a Description or Comment if desired. The description becomes the file name in the portal, and the comment is added to the document’s history.
Click Upload to upload the image. You’ll see a notification at the top of your screen when the photo has been successfully uploaded.
Upload History
Via the Upload History menu item, you can find all uploaded photos sorted by month, along with all associated details (date/time, administration, description, and comment).
If desired, filter by administration at the top of the screen to display only the uploads for a specific administration.
Related articles
Was this helpful?
Still need help? Ask the team